How to Dub YouTube Auto-Translated Videos in Your Own Voice Using Voice Cloning
Use AI voice cloning for authentic global content and grow your YouTube audience. Learn how to replace YouTube auto dubbing with your real voice.

Reaching viewers around the world often means facing language barriers. Not long ago, YouTube introduced automatic dubbing, a feature designed to help creators connect with audiences across different countries. This feature is a godsend for YouTube creators because many people still avoid watching videos or movies with subtitles simply because they don’t want to read while watching.
If you’ve come across videos dubbed this way, you’ve probably noticed how good the translation is. As a bilingual person myself, I’ve checked several videos comparing the original version in my native language with its English dubbing, and I was genuinely impressed by the translation quality.
At the same time, it’s hard not to notice how unnatural or even robotic these dubbed voices often sound. It’s especially noticeable when you’re watching a dubbed video from a creator whose real voice you’ve known for years before the auto-dubbing feature was introduced. The difference can feel jarring.
The good news is that creators can now make a digital copy of their own voice and use it to dub their videos. The technology behind this is called voice cloning, and you as a YouTube creator can use it to dub YouTube videos in your own voice.
What Is Voice Cloning?
Voice cloning is a technology that creates a digital version of your voice from just a few recordings. It captures what makes your voice unique, like your natural tone, pitch, and speaking style, and uses it to generate new audio that truly feels like it’s you speaking. Voice cloning makes the output much more personal and cuts back on time you’d otherwise have to spend in the recording booth.
The technology is highly accessible, you don’t need to be tech-savvy to take advantage of it. There are lots of easy-to-use voice cloners on the market you can choose from. Use our guide to the best voice cloning tools of 2025 as a starting point; it covers features, pricing, data usage policies, and insights from user feedback to help you compare the options and make informed choices.
Why Voice Cloning Matters for Auto-Translated Videos
When videos get auto-translated and dubbed by generic systems, the voices can sound stiff and unnatural. This robotic tone breaks the connection with viewers, especially when they’re used to hearing a creator’s real voice. Voice cloning changes that by preserving the authentic emotional cues and personality in your speech. It helps keep your audience engaged and makes translated videos feel like a genuine extension of your original content, rather than a cold automated copy.
Advantages of Using Voice Cloning for Auto-Translated YouTube Videos
When you’re applying a digital clone of your voice to the translated video, you...
1. Keep authentic voice. Your videos sound like you, no matter what language they’re in.
2. Connect better with viewers. Hearing your real voice makes people feel closer to your content.
3. Save time and effort. No need to record everything again or find someone else to do it.
4. Stay true to your brand. Your voice is part of who you are, and this keeps it that way everywhere.
How to Clone Your Voice for YouTube Video Dubbing
Before we jump into the actual steps, let’s see how voice cloning changes the viewer’s experience in real life. I’ve got three clips to show:
Above is the original news segment in Russian from the YouTube channel “Редакция” (“The Editorial”). Listen to the host’s voice.
Here is the same clip with YouTube’s automatic English dubbing. Notice how different and unfitting the new voice sounds?
And finally, the same clip dubbed in English using a voice cloned from the host’s own voice with LALAL.AI Voice Cloner. It sounds incredibly close to the original.
These examples give a clear idea of how much more authentic and engaging your videos can feel when you use voice cloning.
How to Create a Digital Copy of Your Voice with LALAL.AI
Follow the steps below to create a realistic copy of your voice, which you can use to replace the YouTube auto-dubbing voice in your videos.
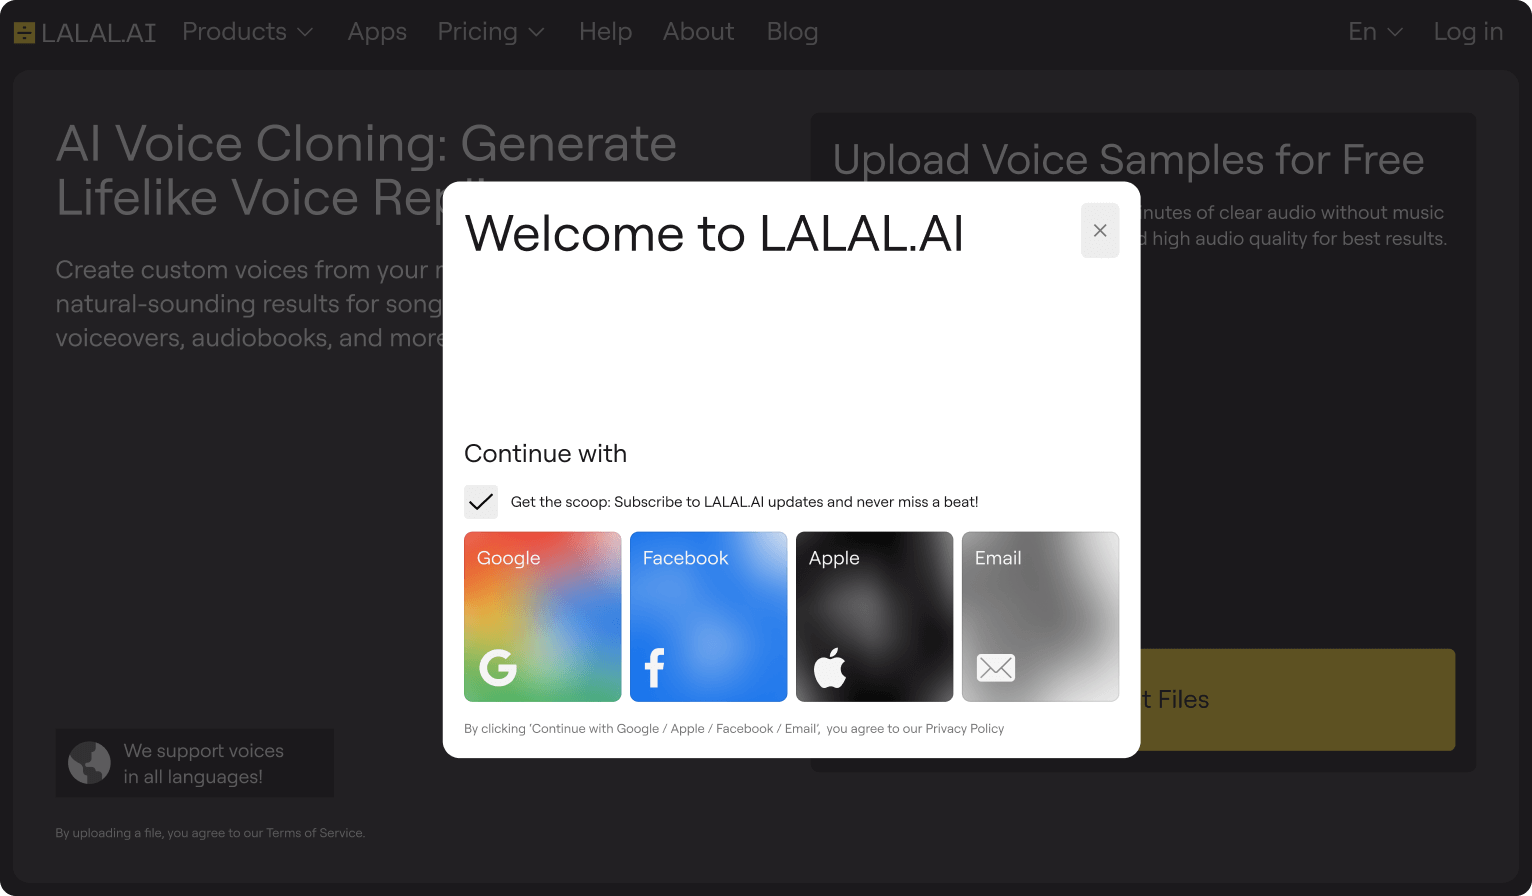
Step 1. Open LALAL.AI Voice Cloner in your browser. Log in or sign up.
Step 2. Click the Select Files button to upload the recordings of your voice. They will be used to train a voice model.
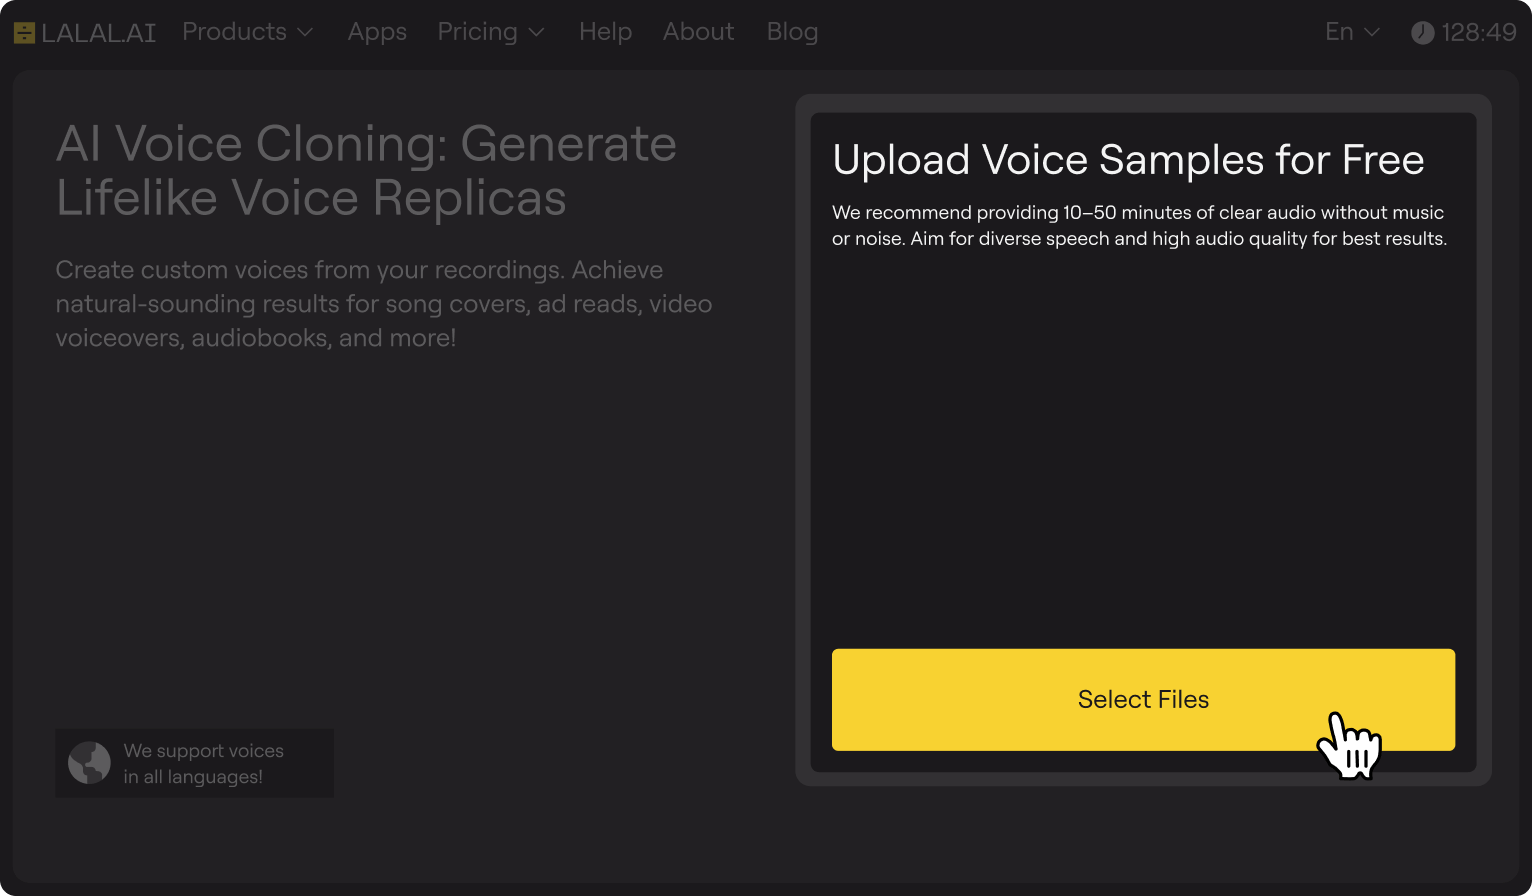
The recordings should be at least 10 minutes long; the more varied the speech, the more accurate the results. Please make sure that the recordings are free from background noise and music.
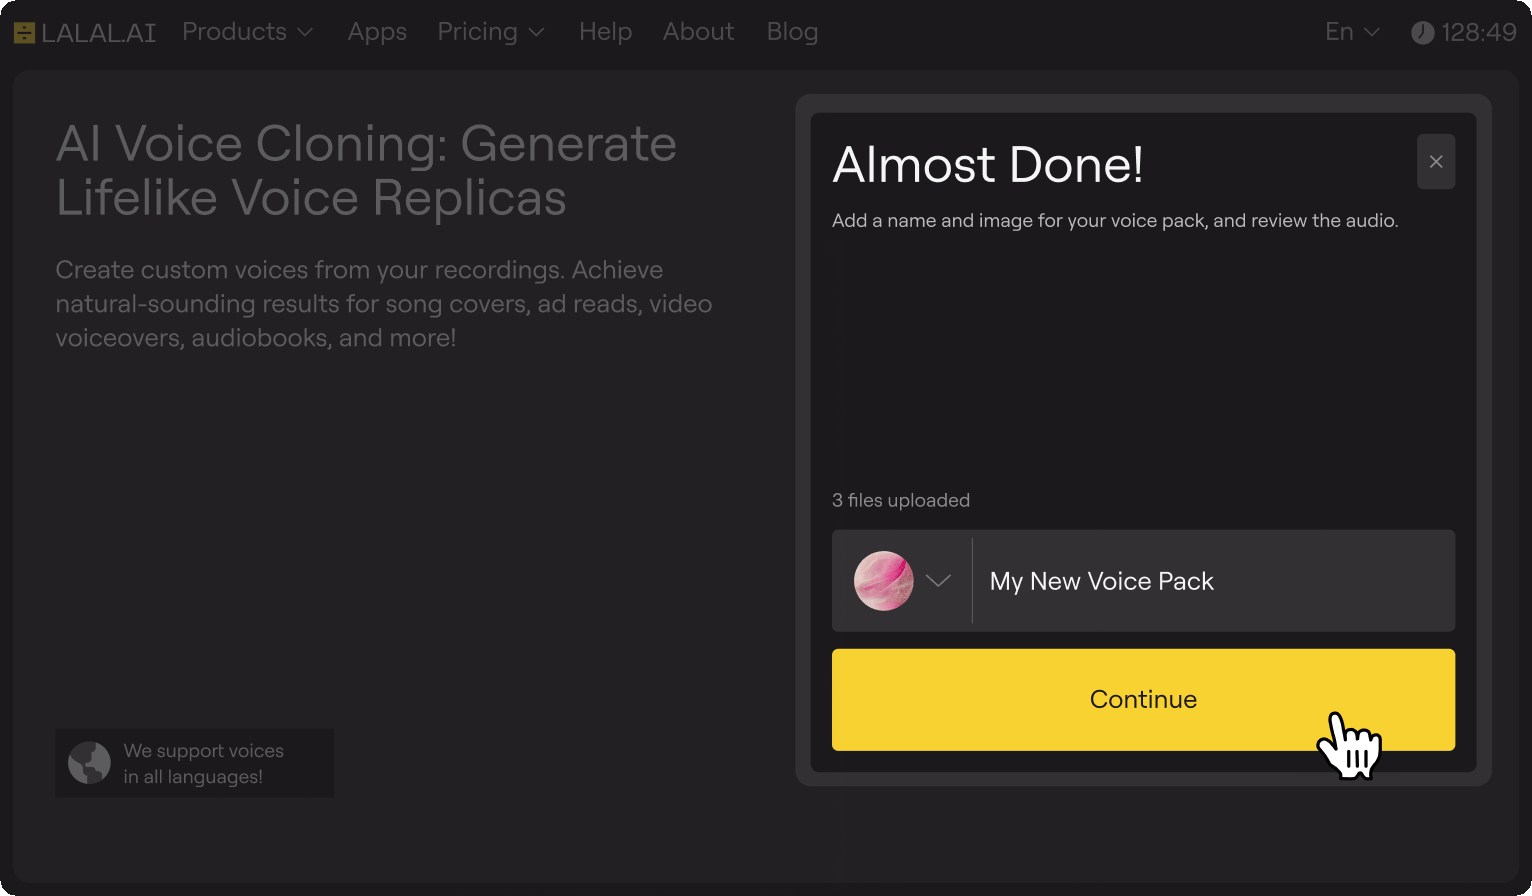
Step 3. After uploading, personalize your future voice clone. Give it a name and choose an avatar from the available options.
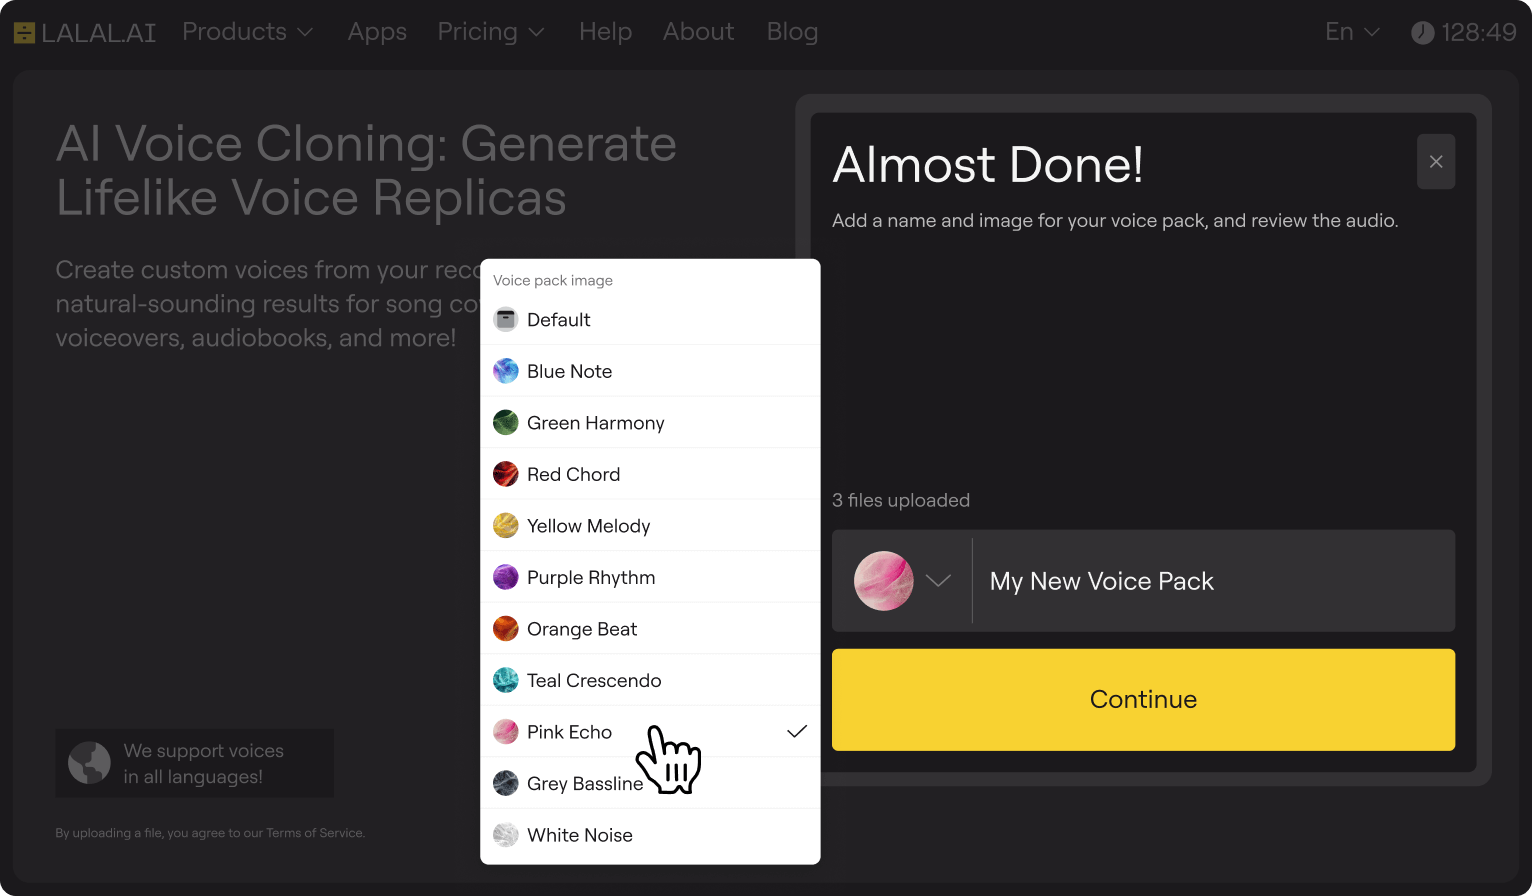
Step 4. Click the Continue button to start the voice model training.
The platform will process your samples in the background, so you’re free to close the tab or work on something else while the AI builds your voice model. You can find your voice clone later by clicking the notification icon near your profile (top right corner of the page).
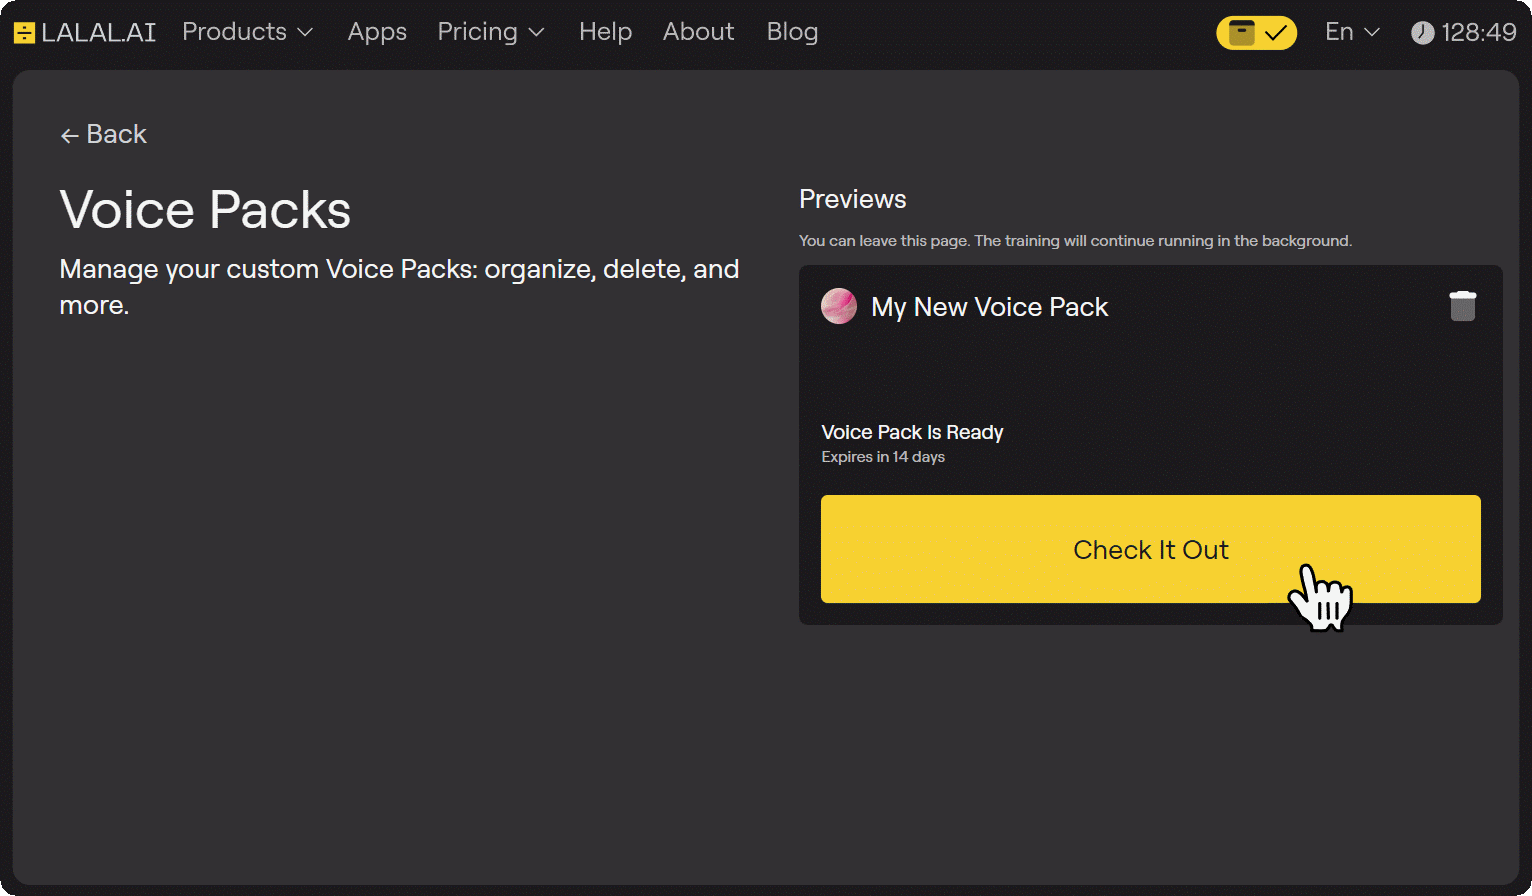
Step 5. Once the training is complete, click the Check It Out button to access the preview page.
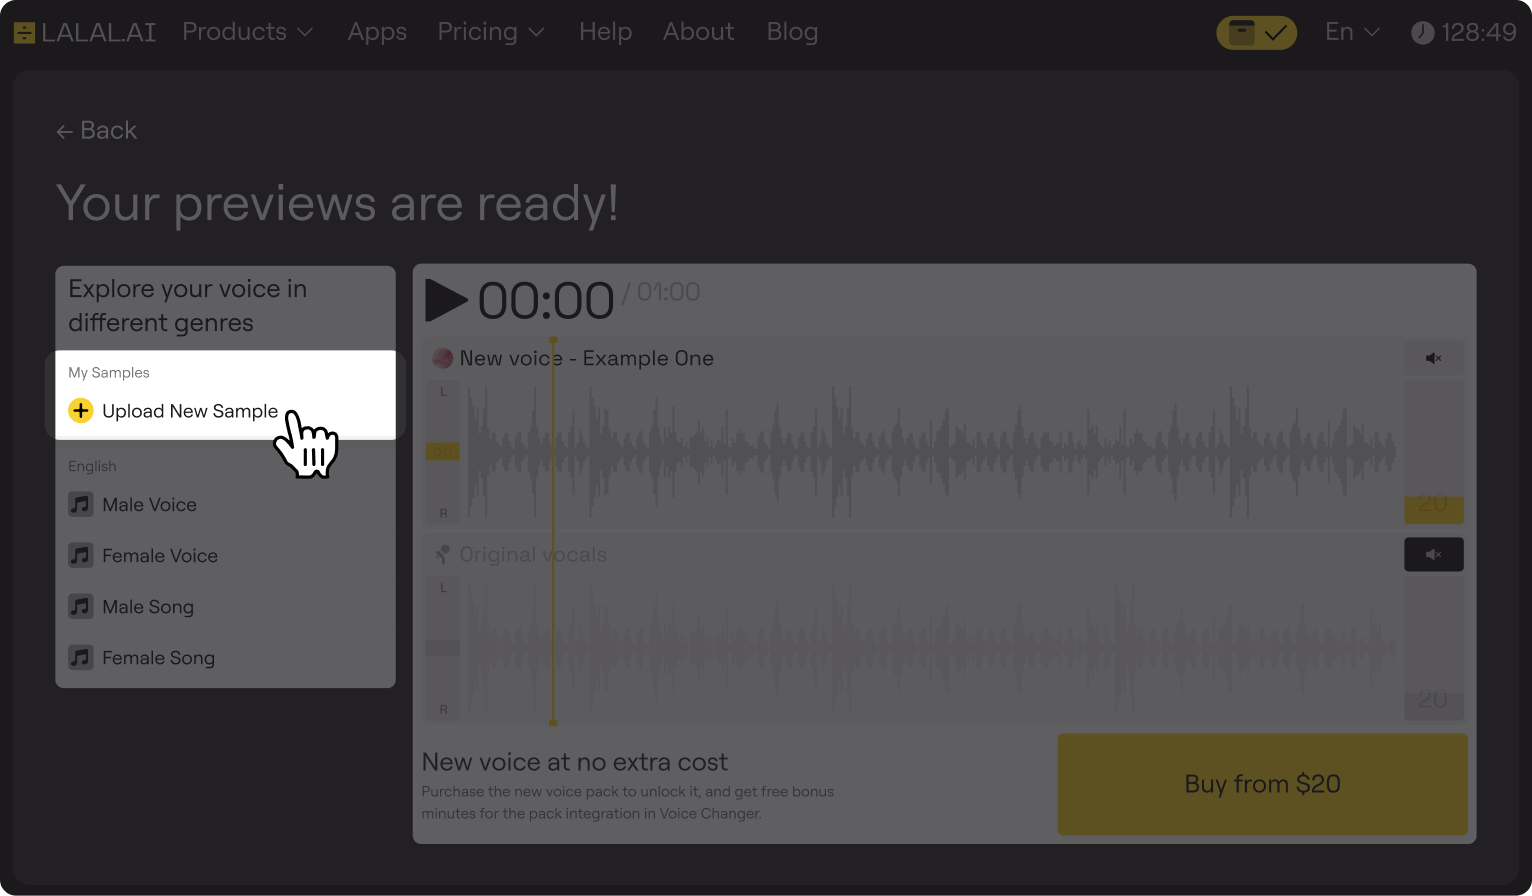
Step 6. Listen to a short snippet of your voice clone on the preview page. Here, you can also apply the preview to the built-in samples, and even test it on your own samples. To do the latter, click the Upload New Sample button and select up to 3 audio files.
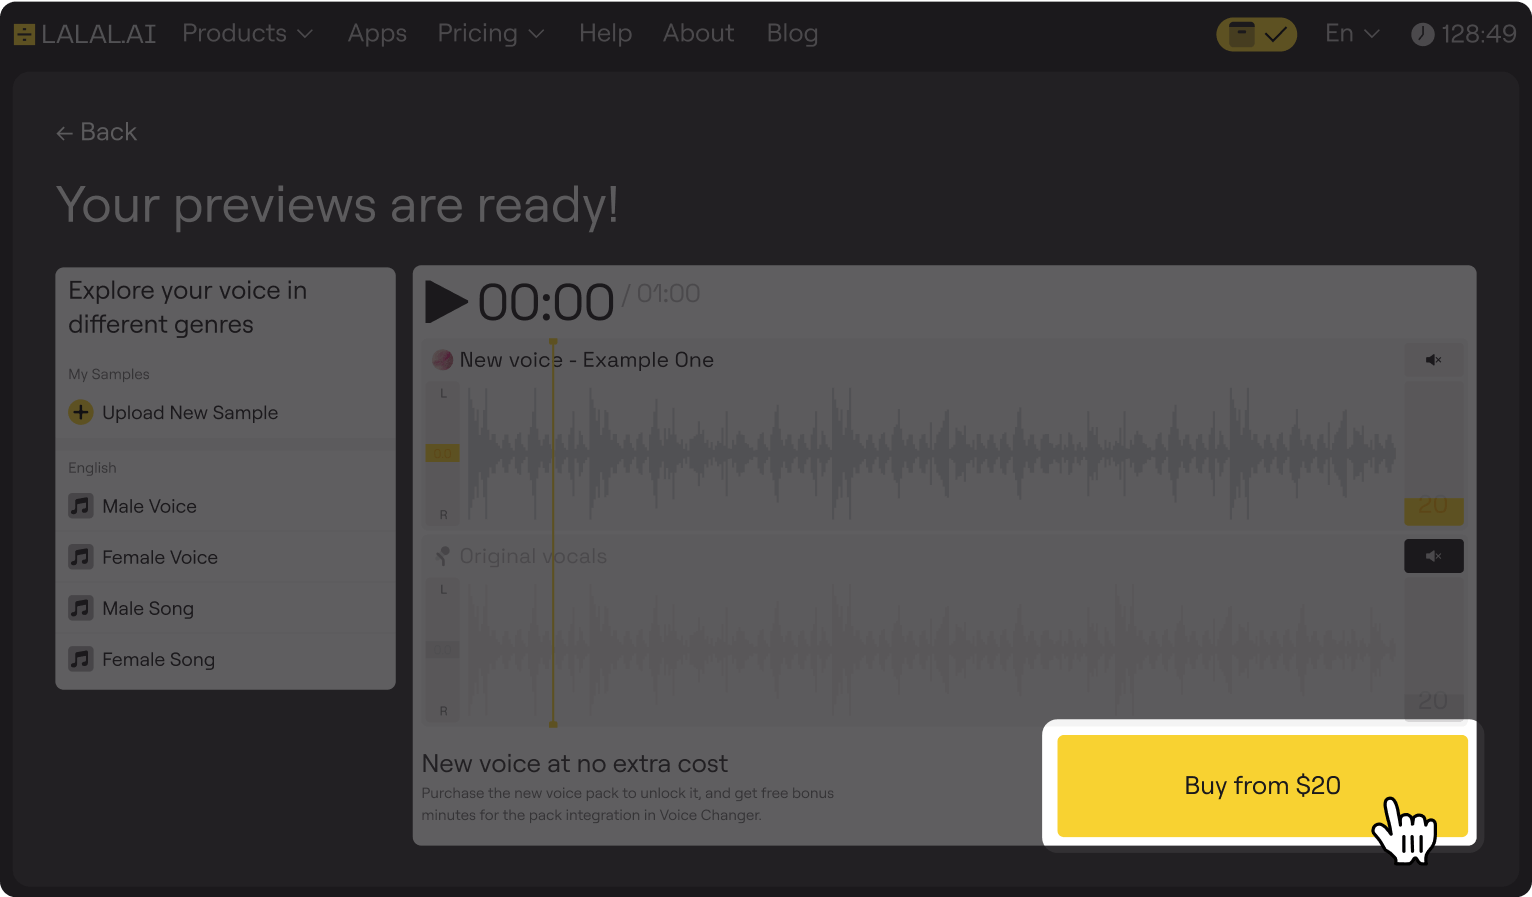
Step 7. If the preview meets your expectations, click Buy to unlock full, permanent access to your voice clone.
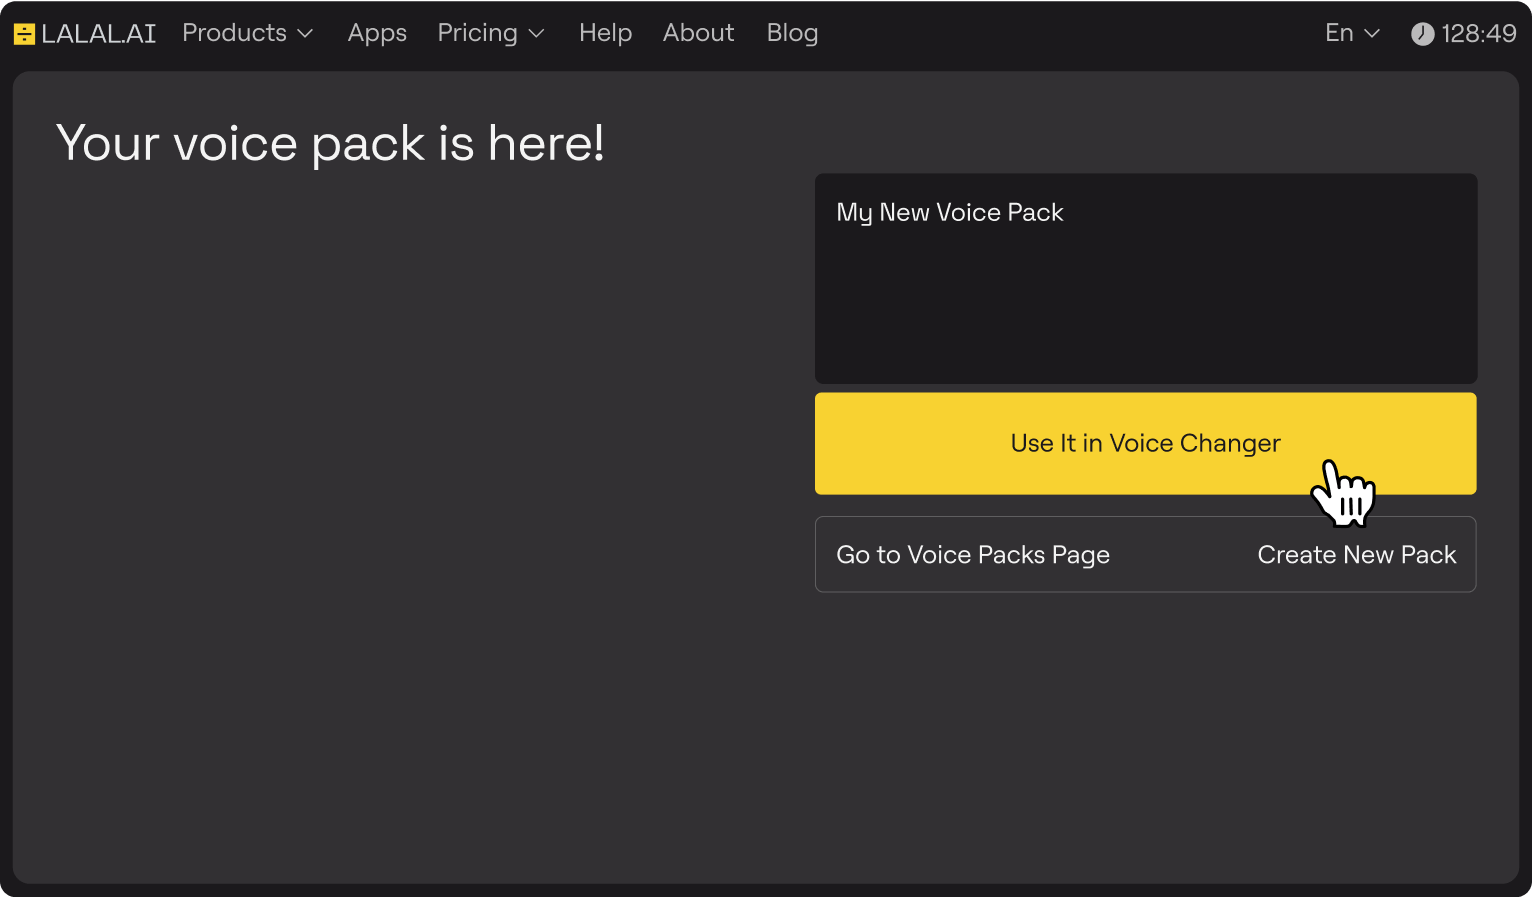
Step 8. Click the Use It in Voice Changer button to apply your voice clone to audio or video files and replace the voice with yours.
How to Dub Your Own YouTube Video Using a Cloned Voice
Now that you’ve got your voice model, you can apply it to your auto-dubbed YouTube video. Follow the step-by-step instuction below.
Step 1. Get the Auto-Dubbed Video
Obtain the video with the auto-dubbed audio track you want to replace. Here are some ways to get it:
Option #1: Download Video with 4K Video Downloader Plus
- Open 4K Video Downloader Plus.
- Copy the URL of the YouTube video featuring auto-dub.
- Click the Paste Link button in the downloader.
- Once the link is parsed, you’ll see the download settings window. There, you need to set the video language to the auto-dub language you want.
- Select other settings (quality, format, output folder).
- Click the Download button.
You can also use other third-party apps or browser extensions that support the download of YouTube videos with auto-translated audio.
Option #2: Screen-Record the Video
- Play the auto-dubbed version of the video on YouTube.
- Use screen recording software (with audio capture) to record the video’s playback.
Step 2. Process Auto-Dubbed Audio with Your Cloned Voice
Since LALAL.AI Voice Changer supports not only audio but also video files, you don’t need to spend time extracting the dubbed track from your video. Instead:
- Upload your video file to Voice Changer.
- Apply your previously created voice clone.
- Click the Process the Entire File button to get the full track.
Step 3. Sync the Dubbed Video and Finalize
- Import your original video and the new dubbed video into your video editor.
- Mute or remove the original audio in the original video if needed.
- Swap or overlay the video’s audio track with the cloned dubbed audio from the processed video file.
- Align the footage and audio carefully to ensure perfect timing.
- Preview thoroughly and make any fine adjustments.
That’s it! You’ve got your video dubbed with your own voice, now you can upload it to YouTube.
Be sure to indicate in the video title that it is in a different language or dub language. You can also translate the original video title into the dubbed language using online translators like DeepL or Google Translate. It helps your viewers easily understand that the video is performed in another language or features a dubbed voiceover.
Follow LALAL.AI on Instagram, Facebook, Twitter, TikTok, Reddit, and YouTube for more information on all things audio, music, and AI.