How to Create Custom Voices with AI Voice Cloning
Step-by-step guide to creating digital voice clones and using them in audio projects, with practical tips on preparing your voice samples effectively.

Voice cloning is making waves across creative, tech, and business spheres. The conversation around synthetic voices isn’t just for sci-fi fans and AI enthusiasts anymore. Voice cloner tools are helping creators, podcasters, marketers, and even educators work faster, add a personal touch, and explore entirely new types of audio content.
At its core, voice cloning relies on artificial intelligence to model human vocal characteristics accurately, including tone, accent, and emotion. This technology has practical applications both in creative expression and business use; audiobooks, commercials, voiceovers, podcasts, and music production are just a few examples where voice cloning plays a transformative role.
Voice cloning makes it easier to produce high-quality voice content with fewer resources and enables content tailoring for diverse audiences across different languages and platforms. But keep in mind that with this flexibility comes the responsibility to ensure synthetic voices are used in honest, respectful, and legally sound ways since it involves duplicating a person’s unique vocal identity.
What Is Voice Cloning Technology?
Voice cloning is the process of creating a digital copy of a person’s voice by analyzing recorded speech and using artificial intelligence to reproduce that voice with a high degree of realism. The technology captures key vocal features such as pitch, tone, accent, speech rhythm, and emotional expression in order to make the synthetic voice sound like the original speaker.
The process begins with collecting clear and varied audio samples of the target voice. The more diverse and extensive these recordings are, the better the AI can understand the nuances of the speaker’s voice. Before training the voice model, the recordings are cleaned to reduce background noise and normalize sound levels, so that the data is consistent and of high quality.
Next, advanced machine learning models analyze the audio samples, identifying unique speech patterns and vocal traits. This stage is called training, and it enables the system to build a vocal profile that reflects the distinctive characteristics of the original voice. Once the model is trained, it can generate new spoken audio from any given text or other audio content, maintaining the original voice’s unique sound and style.
Creating a Voice Clone Responsibly
Voice cloning is a powerful technology, but it must be handled ethically. Always clone only your own voice or someone else’s with direct, written permission. Recording another person’s voice and reproducing it digitally without their consent is a serious violation, which can lead to legal consequences.
It’s also important to clearly inform audiences whenever a voice is AI-generated to maintain transparency. We strongly recommend that users and creators follow the guidelines of voice cloning platforms and comply with local laws regarding the storage, processing, and use of voice data. Adhering to these standards helps protect privacy, ensures ethical use, and reduces legal and reputational risks.
Step-by-Step: How to Create a Voice Clone
Here’s how a typical cloning process works, using LALAL.AI Voice Cloner as an example.
1. Log In or Register
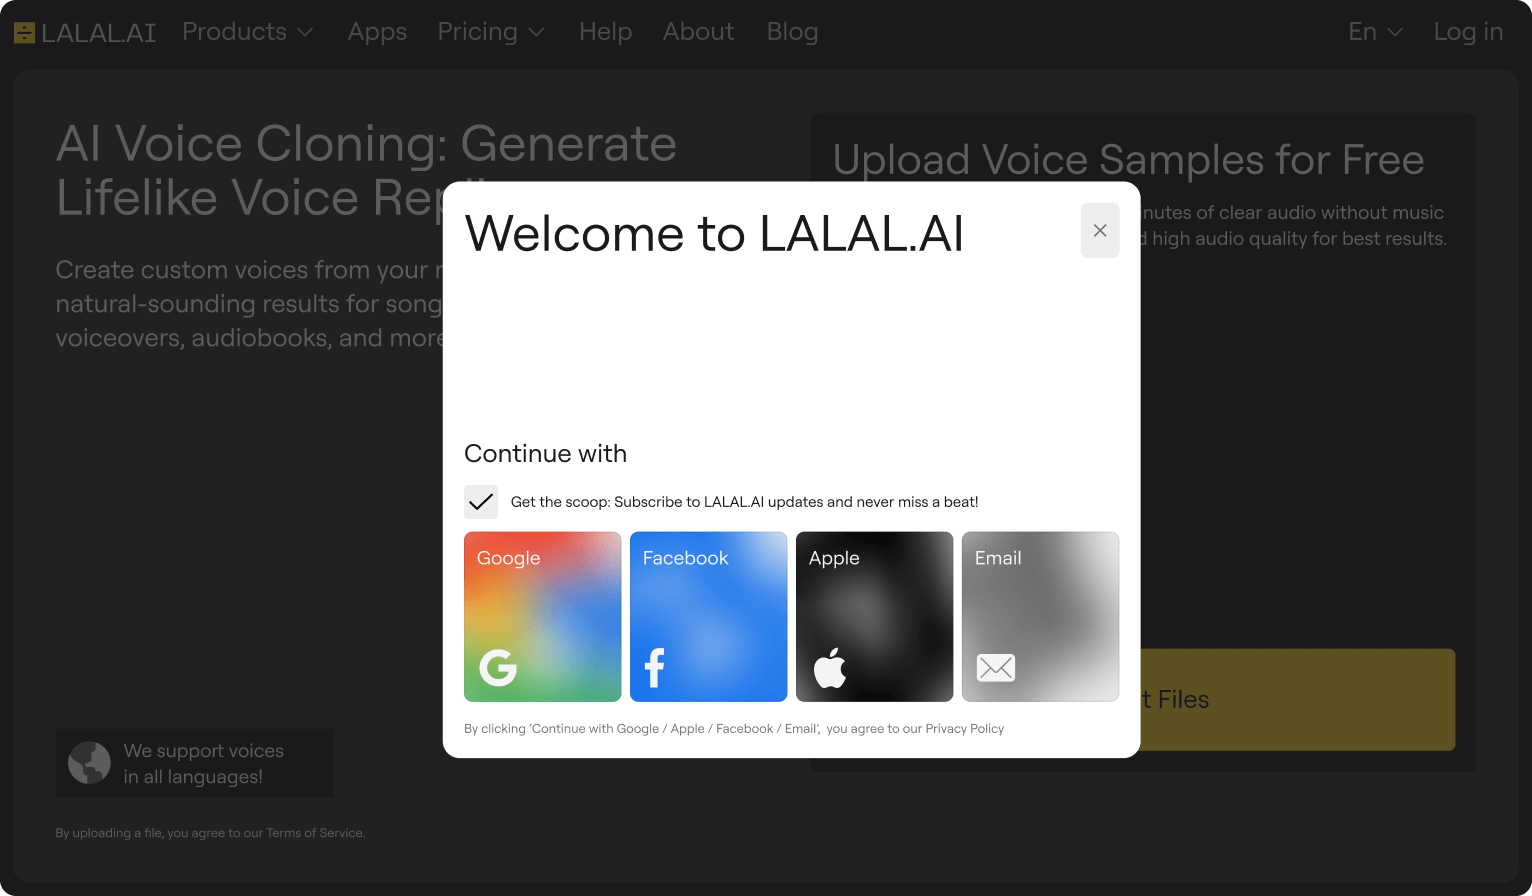
Visit the LALAL.AI Voice Cloner page and log in to your account, or create one if you’re new to the service.
2. Prepare Quality Voice Samples
LALALAI, like other voice cloners, works best with clean audio files; no music, background noise, or overlapping speakers.
Gather several clean recordings of your voice, aiming for high clarity, a wide range of tones, and variety in your speech; it helps build a rich data set and ensures your future clone sounds natural and lifelike.
3. Upload Your Samples
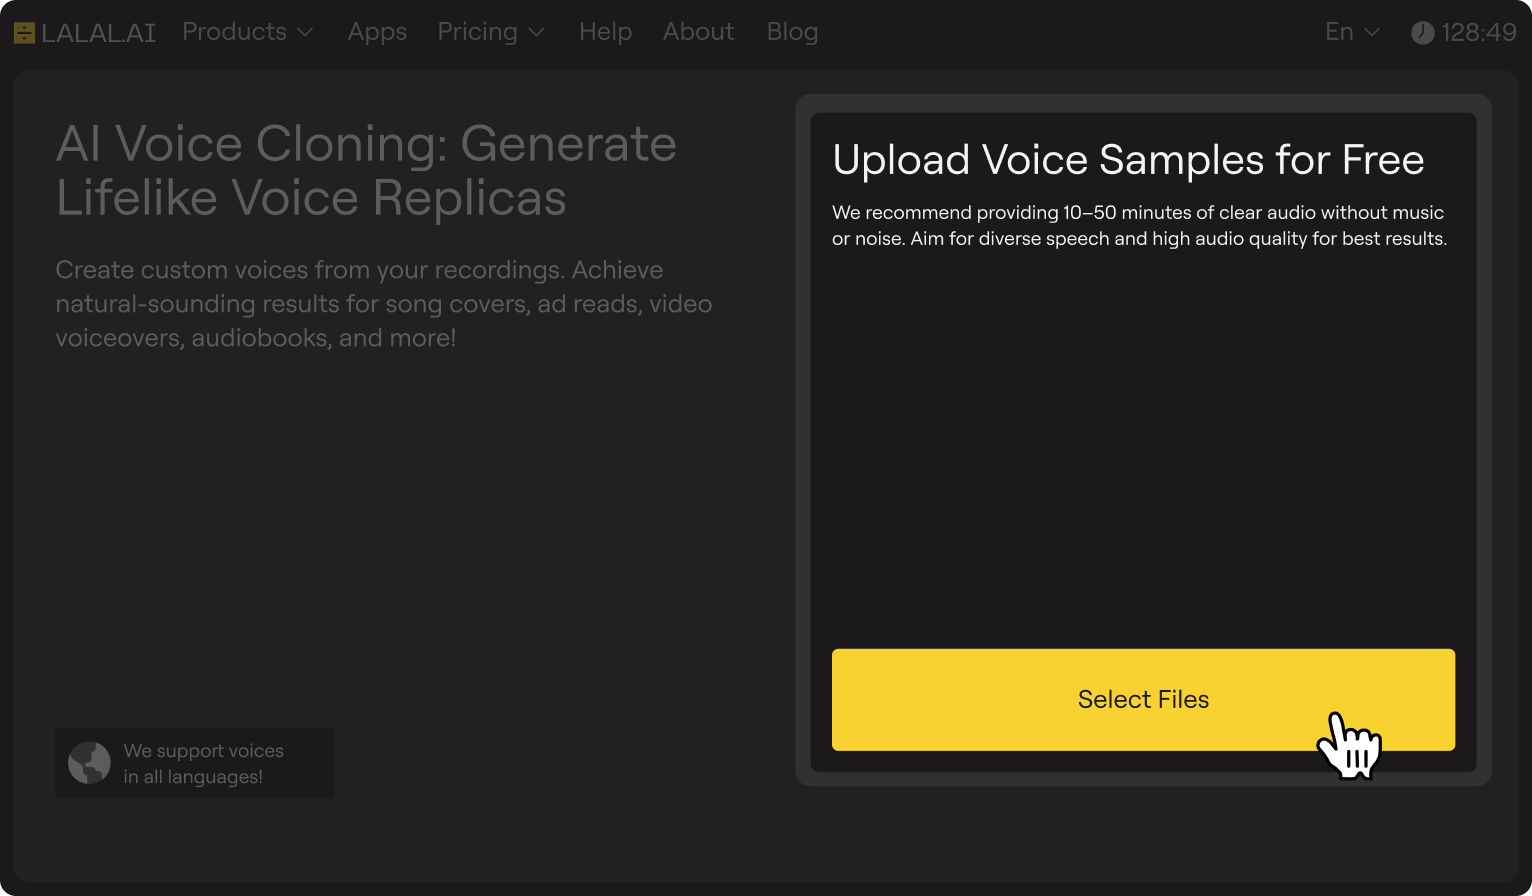
On the Voice Cloner page, click the Select Files button to upload your prepared voice recordings. The service supports all popular audio formats, including MP3, FLAC, WAV, and more.
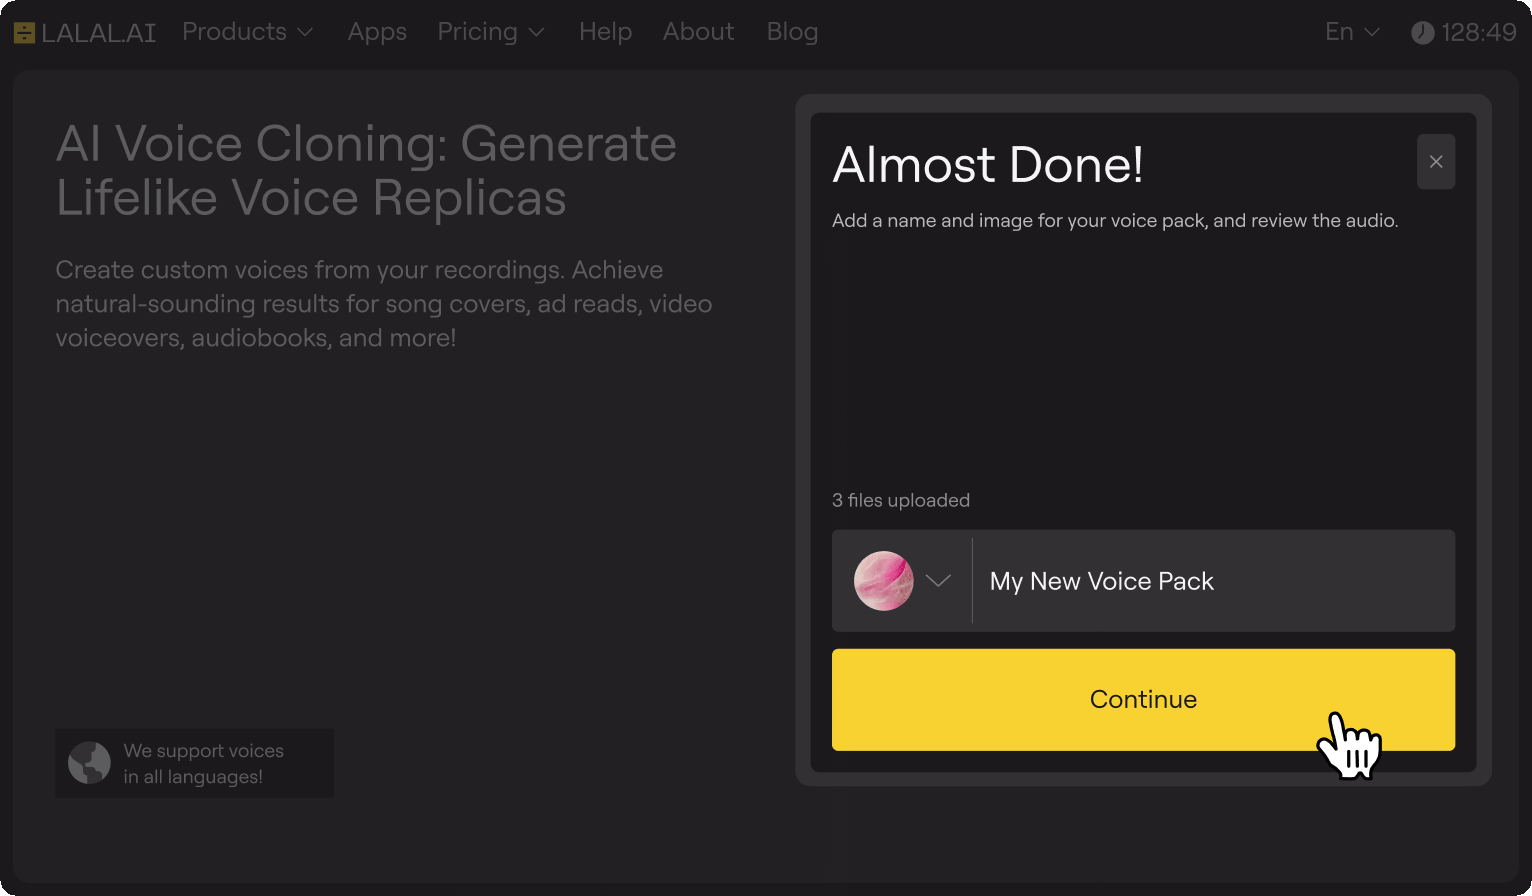
4. Personalize Your Future Voice Clone
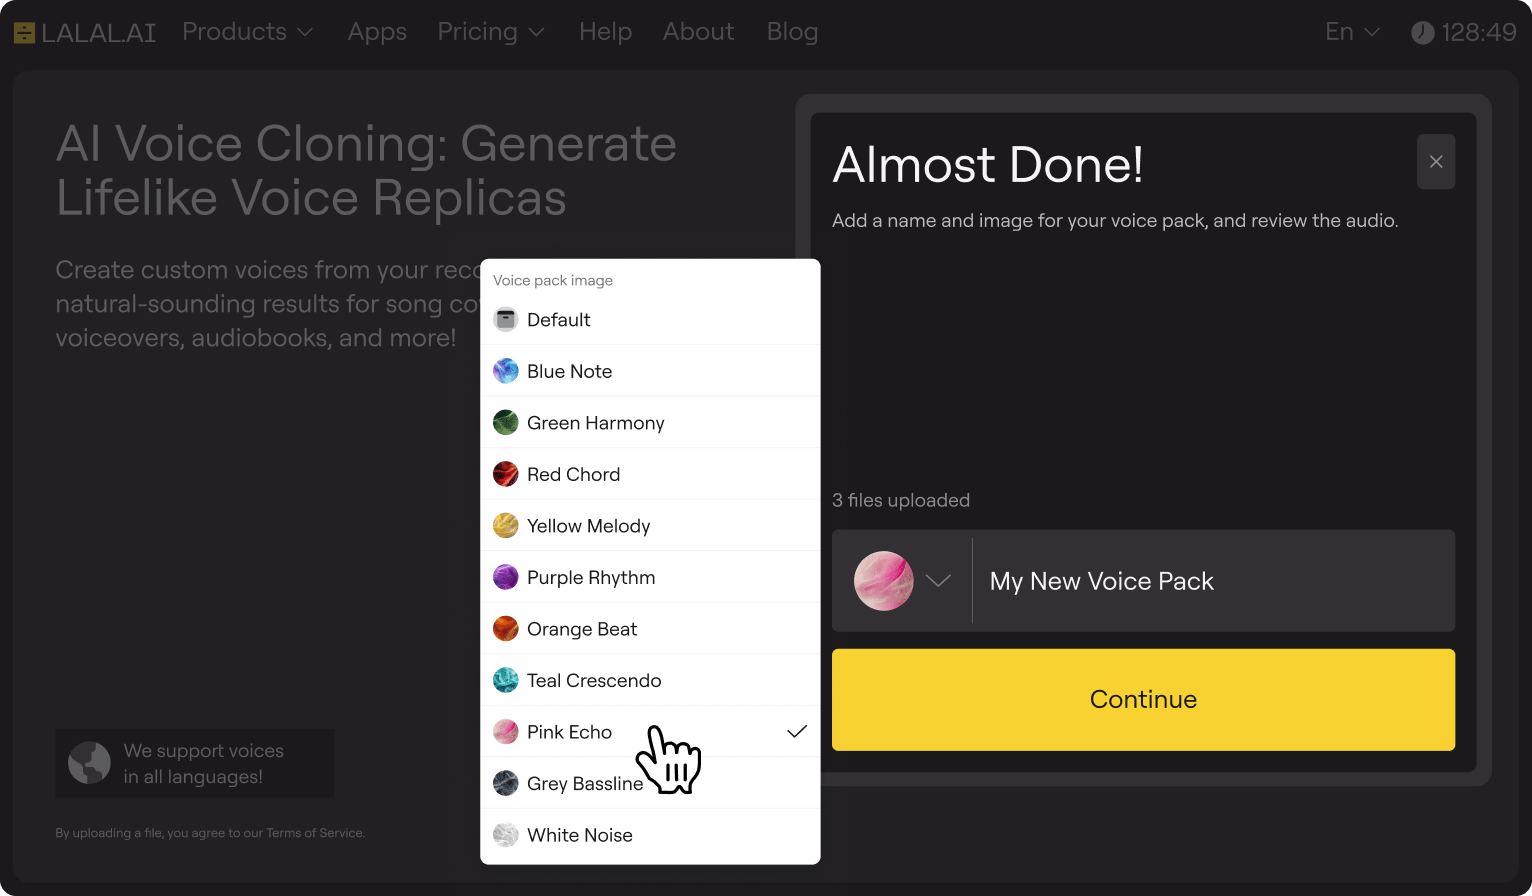
Once your samples have finished uploading, you’ll be asked to give your new voice clone a name. At this stage, you can also choose an avatar from the available options to further personalize the voice profile.
5. Start the Voice Model Training
After giving your clone a name, click the Continue button to start the training:
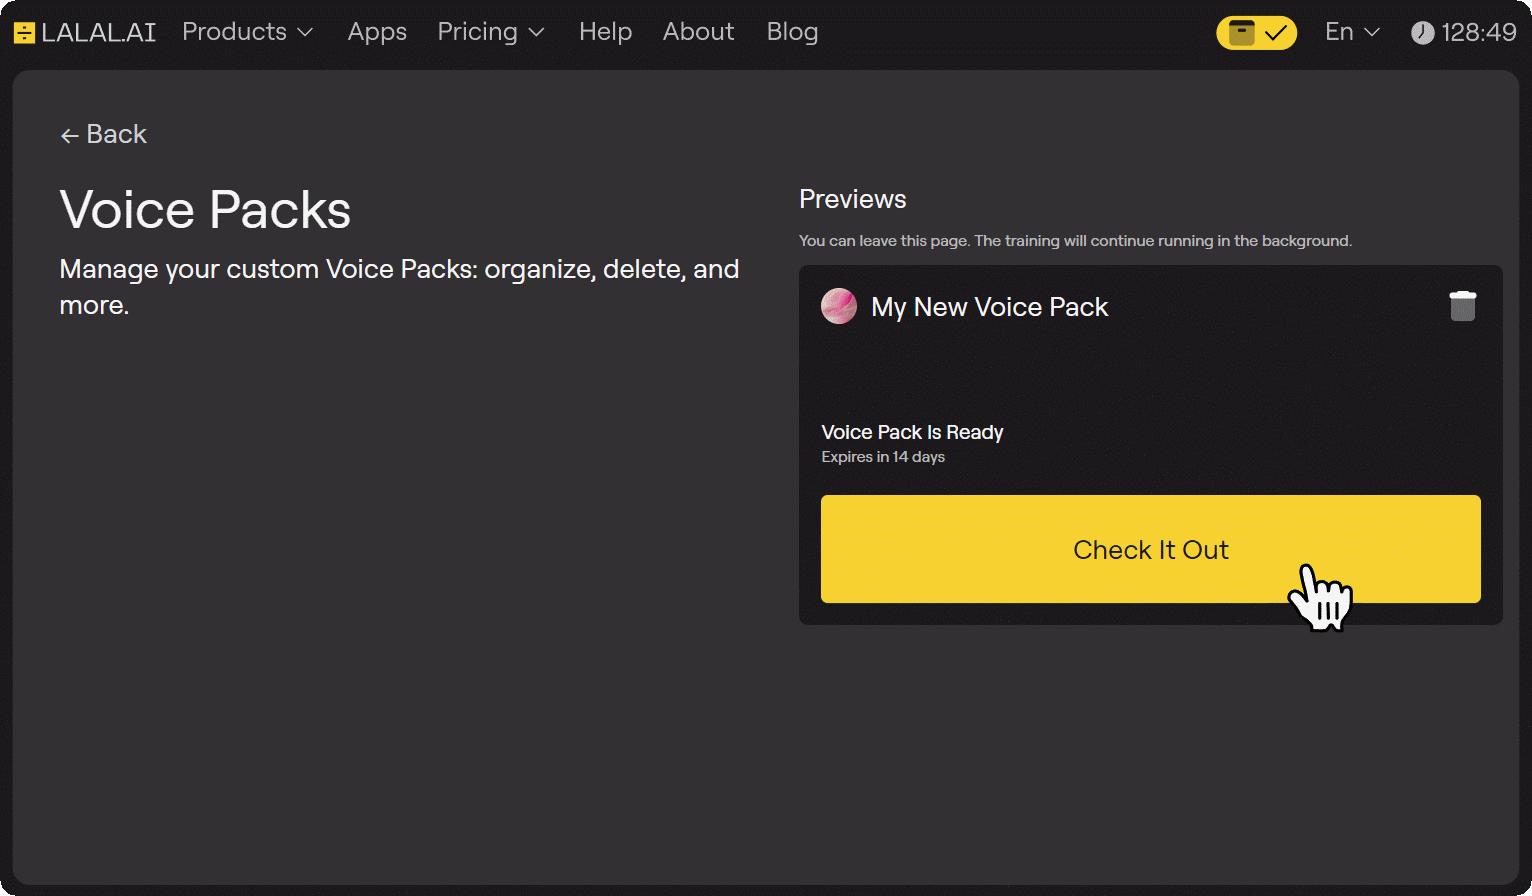
The platform will process your samples in the background, so you’re free to close the tab or work on something else while the AI builds your voice model.
6. Preview Your Voice Clone
After training is complete, click the Check It Out button, as shown below, to access the preview page.
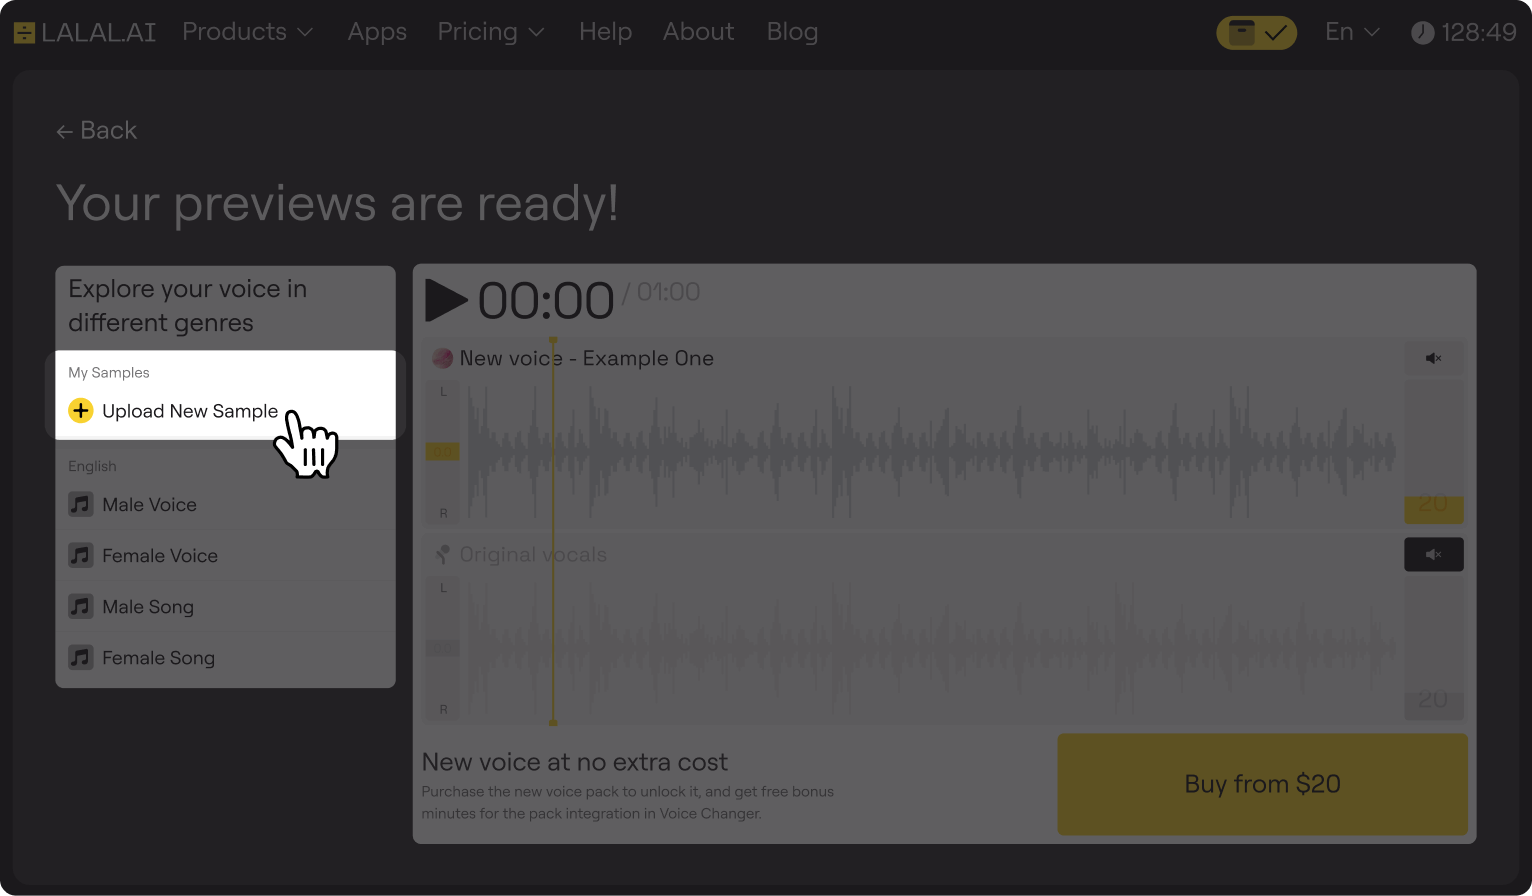
On the preview page, you can listen to a short preview of your voice clone, apply it to the built-in samples, and even test it on your own samples. To do the latter, click the Upload New Sample button and select up to 3 audio files:
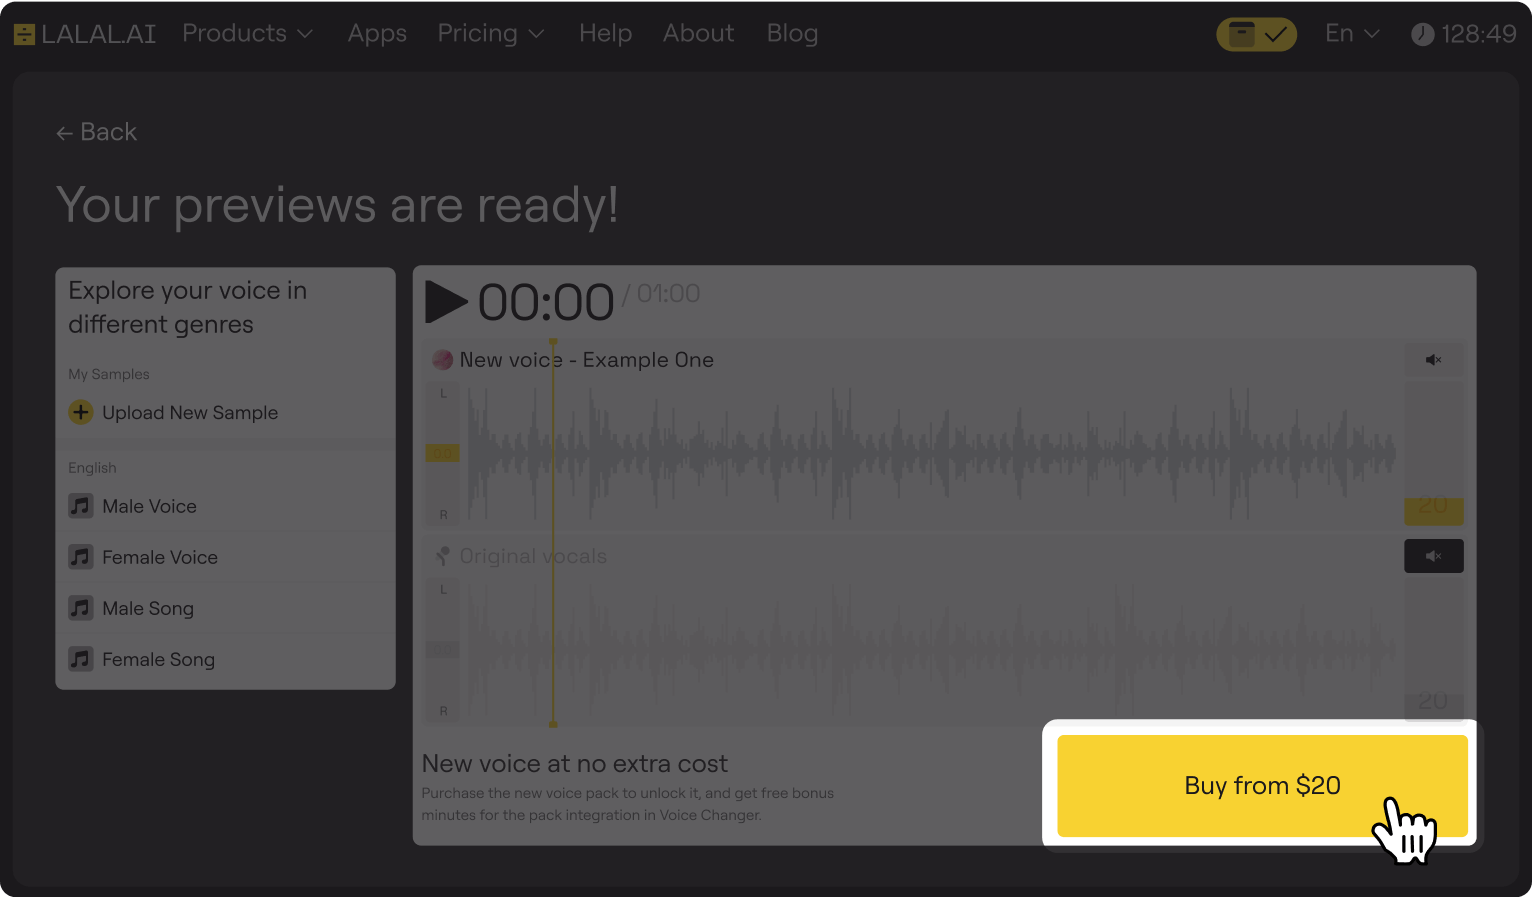
7. Get Your Voice Clone
If the preview meets your expectations, click the Buy button to unlock full, permanent access to your digital voice clone:
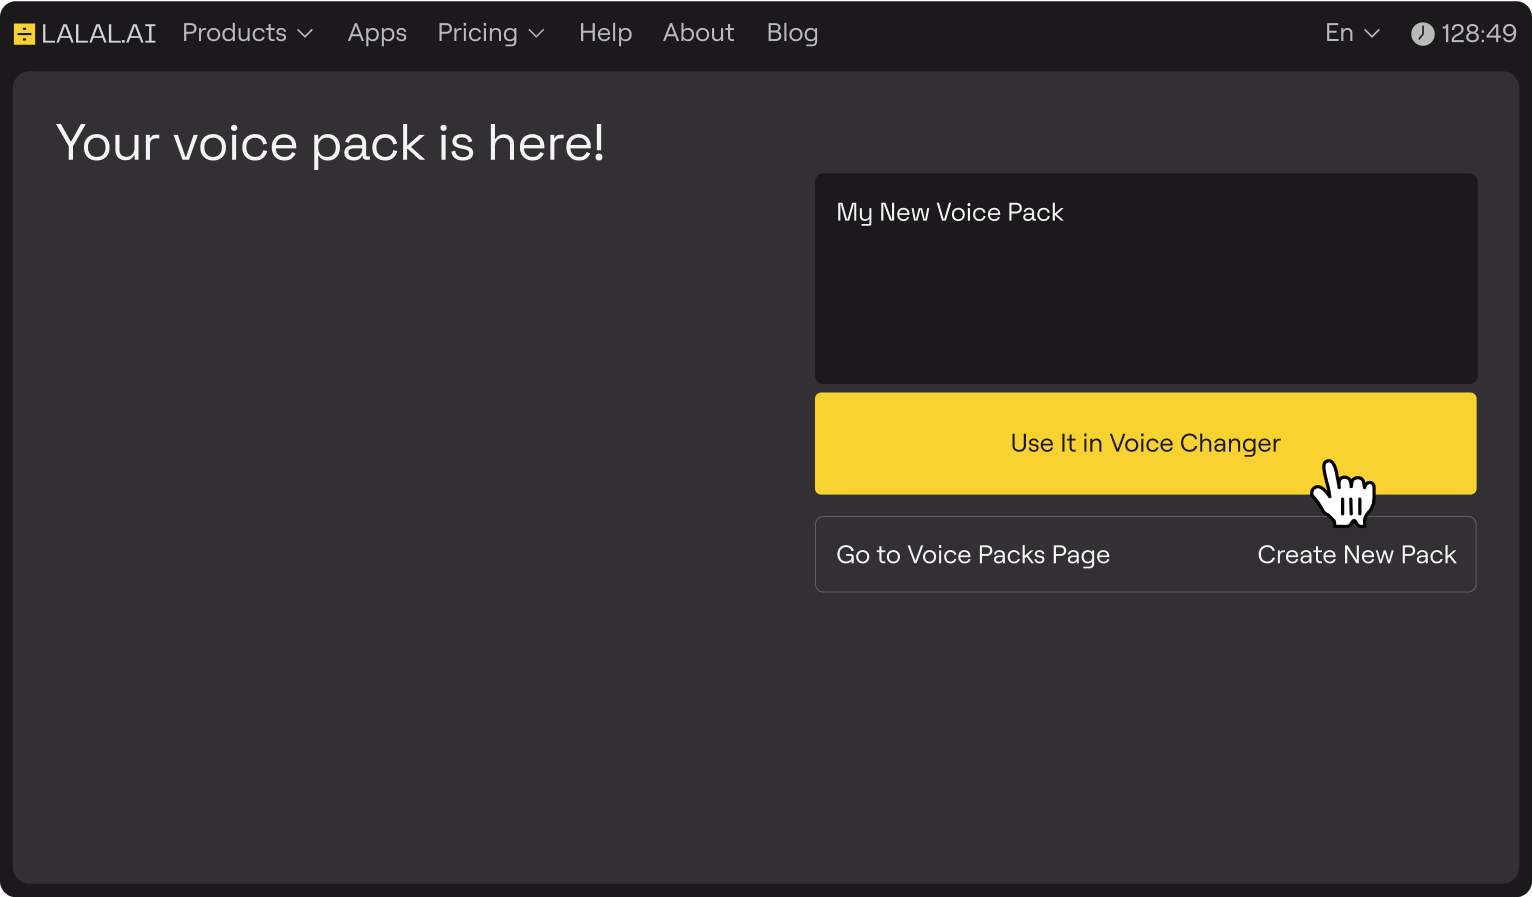
8. Use the Voice Clone
Once you’ve completed your purchase, click the Use It in Voice Changer button to apply your new voice to various audio projects:
That’s all there is to it. Your voice clone is ready to use. Try it in different projects, see how it sounds, and have fun with it. Use it to save time or to add something new to your work without having to record everything yourself.
Follow LALAL.AI on Instagram, Facebook, Twitter, TikTok, Reddit, and YouTube for more information on all things audio, music, and AI.